
PDF Print Orders
Bulk PDF Jobs and Print Packs
Select several Shopify orders and prepare merged PDFs or organized print packs efficiently.
A bulk job should begin with a precise result set and end with a Print History check.
1
Filter the working set
- Search for the required order group.
- Apply payment and fulfillment filters.
- Review the first result before using the selection checkbox.
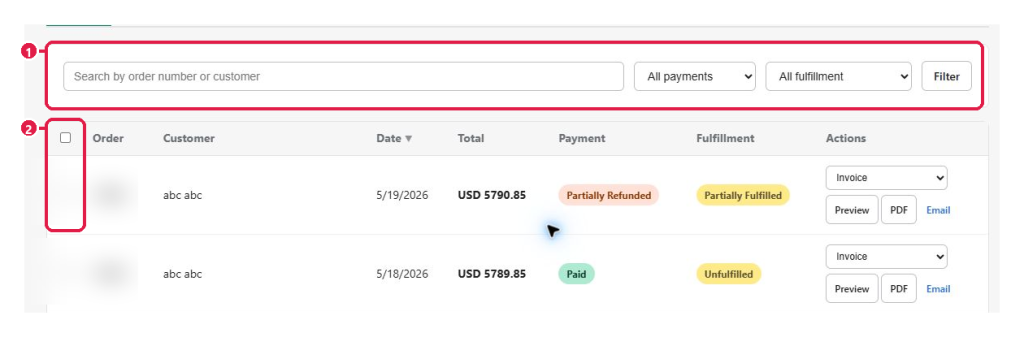
Expected result: Only orders intended for the bulk job remain in the result set.
2
Select every required order
- Select individual row checkboxes for a mixed result set.
- Use the header checkbox only when every visible order belongs in the job.
- Count selected rows before generation.
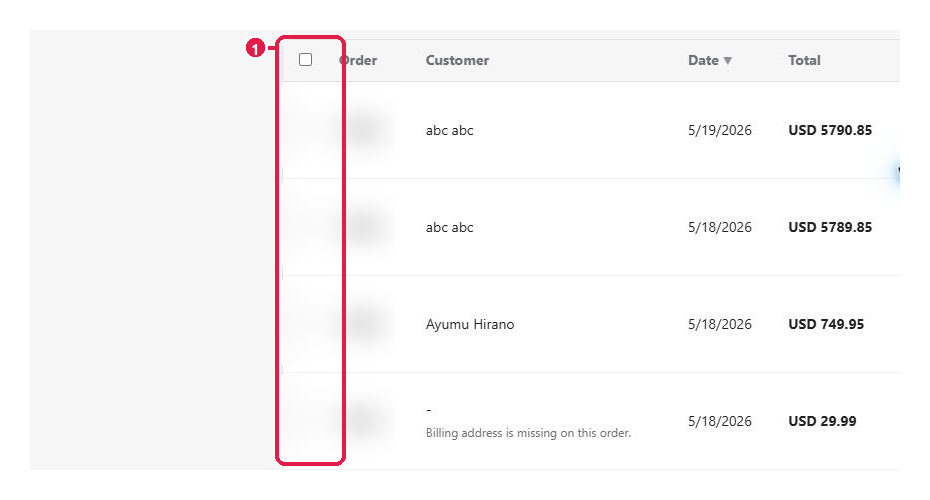
Expected result: The selected-order count matches the planned job size.
3
Audit the job in Print History
- Generate the available merged PDF or ZIP workflow.
- Keep the app open until processing finishes.
- Open Print History and refresh the job list.
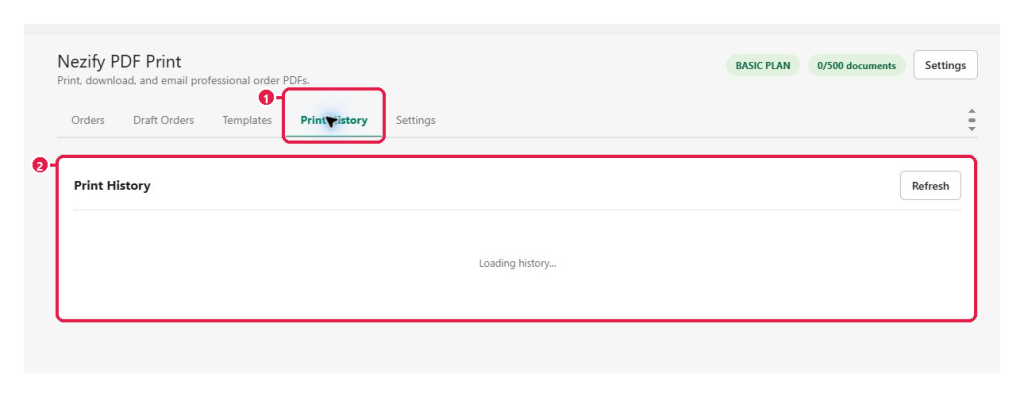
Expected result: The completed job appears and its output count matches the selection.
Tip: Check plan allowance and per-job limits before processing a large group.
This guide was last updated on July 13, 2026.